Whether you’re trying to improve the value of your home or want a visual upgrade, a fresh coat of paint can greatly improve the look of any space. It’s an easy and low-budget option to making your favorite room — door or windowsill — look brand new.
However, some painting jobs require a little elbow grease before the painting can begin. If you want your work to hold up over time, here’s a step-by-step guide on how to prep interior walls, ceilings and more for fresh paint that lasts:
- Check the surface area for dust, dirt, or cobwebs. If you spot any, wipe it away with a cloth. You don’t need to scrub. Just make sure you aren’t painting over dust or cobwebs, which dirty your brush or roller and make your job a lot harder.
- If walls are greasy or have mildew, they need to be washed. This especially applies to kitchen areas where walls or ceilings might have more grease than you think. Paint struggles to stick on grease, so a degreaser is necessary. Paint often bubbles or peels off a greasy wall, ruining all your stellar work.
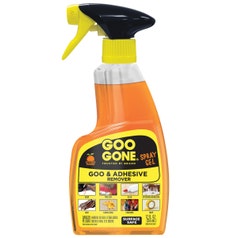
To degrease: Apply Goo Gone Goo & Adhesive Remover Spray Gel to greasy areas. Wipe with a cloth. Wash with water. For extra greasy messes, let Spray Gel sit for 5-10 minutes.
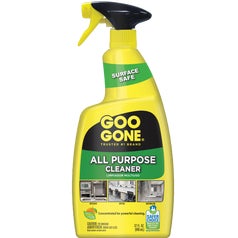
To remove mildew: Spray Goo Gone's All Purpose Cleaner 6-8 inches from the area and wipe down with a cloth. - Check the surface for imperfections. Anything that you can spackle, you should. That means filling nail holes or imperfections with spackle or Plus 3. When the imperfections are filled, follow up by sanding down the area to make your surface as level as possible. Some of the smaller nail holes won’t require sanding if the spackle is applied neatly, but bigger imperfections will need it. You can sand down any other bumps or flaws.
- Watch for crumbly caulk. How does your caulk look? If caulk is compromised, it will continue to crumble under new paint. If your caulk is loose or crumbly, take a putty knife or similar tool and cut it out. You can then re-caulk before painting (some caulk allows you to paint over it almost immediately). As always, follow the instructions on your packaging.
Now you’re ready to paint! Here are a few other tips from painting professionals to make your job easier once you start:
- If you have new drywall or a large area repaired with plaster or compound, it’s a good idea to use a primer. A layer of primer seals the drywall and helps smooth everything out. You’re less likely to see defects or seams in the drywall after using a coat of primer.
- Don’t skimp when buying a brush. Using a high-quality brush makes a big difference when you cut ceilings and corners. Better brushes cut a nicer line and hold more paint.
- When painting walls and ceilings, consider using a 3/8 inch or 1/2 inch nap roller. It’s a bit heavier, but it holds a lot of paint and generally covers surfaces better than smaller naps. However, if you’re painting something more precise like cabinets, consider a ¼ inch nap.
- When you start to roll a wall, don’t start the roll at the top of the wall. Start the roller a couple feet down from the ceiling and roll into the cut to keep paint from leaving a ridge.